Hey everyone reading this- Bizzle created her own site so she could expand to multiple topics.
Here's the link:
http://lizziedwysong.weebly.com/vittles.html
Here's the link:
http://lizziedwysong.weebly.com/vittles.html
Hey everyone reading this- Bizzle created her own site so she could expand to multiple topics.
Here's the link: http://lizziedwysong.weebly.com/vittles.html
1 Comment
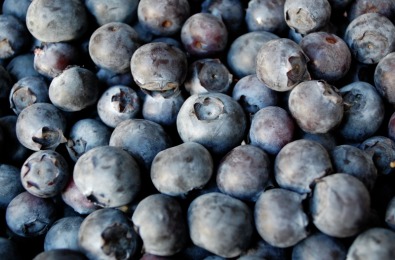 This was the beginning of it all. Way back in middle school, before I realized how much I really did like cooking, I made blueberry scones for a class project. I've never been the same since. 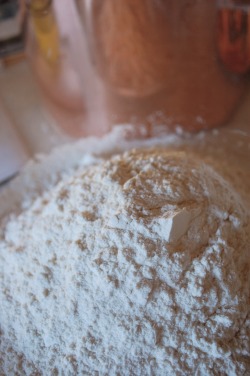 Perfecting a recipe is kind of tedious. You make a little change here, a little change there, hope you can remember how the final product differed, and start all over again. I don't do this. I usually tweak in large ways, for example, replacing blueberries with cut up dried mango and adding cayenne and lime. But I have decided that in my lifetime I will perfect this recipe. 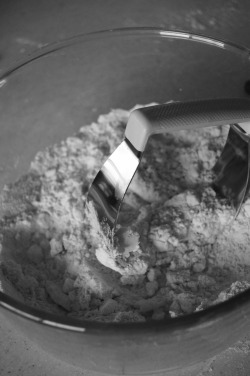 My Mom has a pastry cutter!!! I don't even particularly like blueberries that much. Fresh ones, that is. But put them in the right baked good and they can be divine. 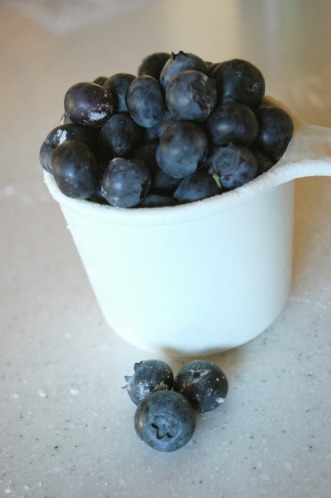 These scones were not that 'right baked good.' My tweaks in seeking perfection backfired (I'm going to blame it on the altitude). I tried adding egg whites, which, to me at least, drastically changed the flavor, especially since I always decrease the amount of sugar. Also, I sort of managed to fill the oven with smoke (again, blaming the altitude and its ability to mess with proportions). 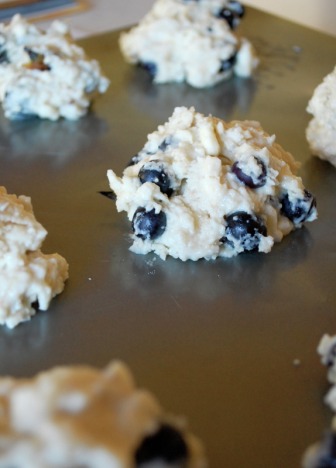 But, since I am basically Martha Stewart, I managed to salvage the scones. A little quick thinking, some open windows and a pathological need to not fail saved the day. I've made better, but these are definitely still worth eating. Or scarfing. Whichever eating method you prefer. 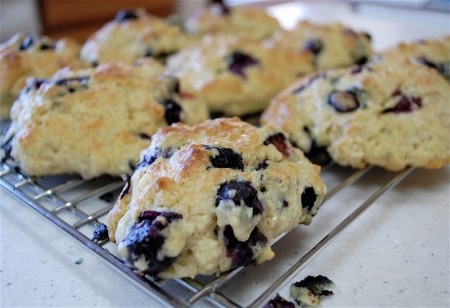 That's right; I'm hopping on the summer blogging bandwagon. This is just the first of what I hope will be many, many, posts about ice cream, frozen yogurt and sorbet. I reclaimed an old ice cream machine from the give-away pile and got to work. 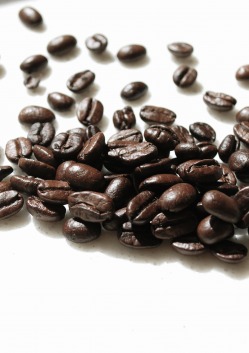 If there is one flavor I love almost more than any other, it's coffee. So naturally my first ice cream would be of the coffee variety. And I say variety because I added a little crunch in the form of almonds and chocolate chips. 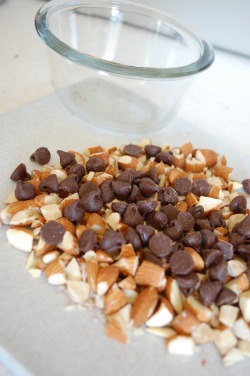 A lot goes into making ice cream. At least, it was a lot more than I thought it was. First I brewed a small, strong dose of french press coffee since I don't have an espresso machine. Then I threw that in a sauce pan with some whole milk and heavy cream and let it boil. Then I added the secret ingredient. Or at least, the ingredient I was surprised to see in so many recipes: egg yolks. 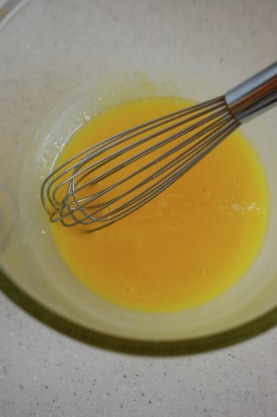 I was trying to make ice cream, not frozen custard! But it is my understanding that the egg yolks are what make a good ice cream especially creamy, so I met myself in the middle and added four yolks. (Some recipes call for up to 12...or some other ridiculous number.) First I added a little bit of the hot liquid to the yolks, then added that mixture back to the original. 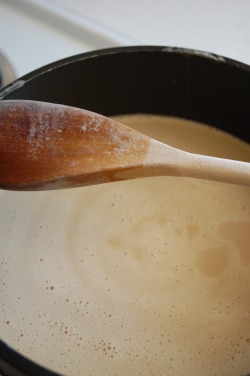 You then simmer this liquid down until it ambiguously 'coats the back of the spoon.' Or reaches a certain temperature. I am still without a thermometer, so I had to take the less accurate route. After reaching what I hoped was the coating stage, I cooled the liquid for two hours.  Then the magic happened. The magic that is facilitated by the world's tackiest kitchen appliance. I poured in my not-quite-cold-enough liquid and waited for the pre-frozen metal cylinder to go to work. Now, the box says that you only need to crank the handle once every 2-3 minutes and that in 20 minutes you'll have ice cream. Let's just say that I am impatient, probably spun it more than I should have, and it took closer to 40. 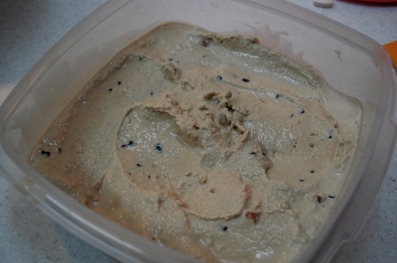 Once it reached a decent frozenness, I stirred my mixings into it, loaded it into a tupperware and stuck it in the freezer.  The next day I had ice cream. Hard as a rock ice cream. I think the water content in the coffee changed the consistency of the ice cream, because it was less creamy and more crystalline. I also may not have boiled it down enough. But once it softens a bit, it's just as tasty and satisfying as ice cream should be. So, summer, bring it on.
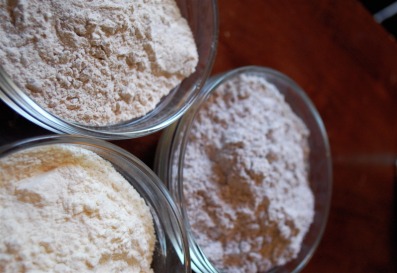 I decided to make tortillas on Wednesday for three reasons: It was Cinco de Mayo, I hadn't posted anything in a while, and it was the last day of classes ever in my undergraduate career. I've been making tortillas for a little over a year now. My theoretical recipe is lifted from the Food Network site and has an approx. ratio of 3:1:1/3. It's easy to remember- 3 cups of flour, one cup water and 1/3 cup oil. You mix them all together, let the dough sit for 30 min, then roll and palm it as flat as you can. Whenever I've made tortillas before they always end up too thick and too chewy. So this time I decided to try a little something different. I used three different kinds of flours: blue corn meal, whole wheat, and an unbleached all-purpose. 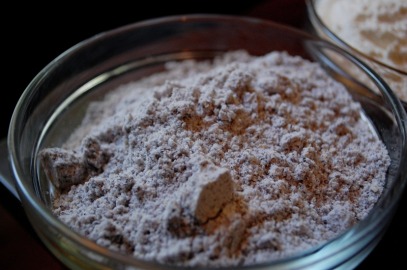 I knew the coarse grind of the corn meal would help break up the gluten development of the other flours, which would help ease them into flatter tortillas. 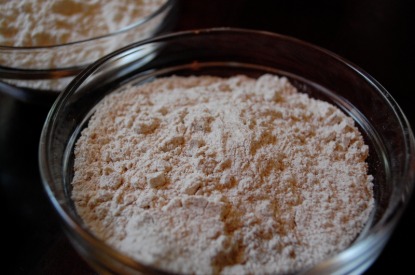 The whole wheat was used for its coarse grain and health benefits. 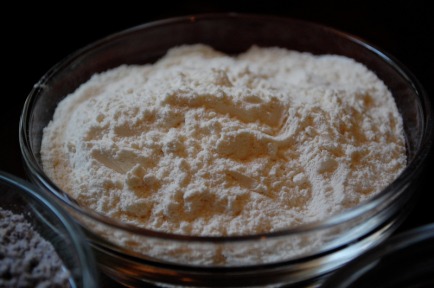 To the three flours I added about one cup water, into which I dissolved some salt; this was not enough to evenly moisten them, so I added a few tablespoons of milk.  After the milk I added the oil. This time I used olive oil, which I have never tried before, usually I just use vegetable. 1/3 cup was a little too much oil this time, I think because of the milk addition, but it wasn't really a problem. 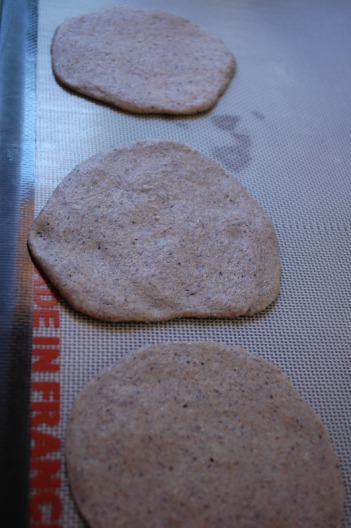 After letting it sit I dumped it onto my Roll-Pat, began tearing chunks off of it and, using my extensive Play-Doh skills, managed to make about a dozen flat rounds. While doing this I had the skillet already heating on the stove, since these cook the best on immediate and high heat. If you're going to try this yourself, I recommend flattening a few before going back and cooking one, since giving each tortilla a little time to relax helps it stay nice and thin. The pan doesn't need to be oiled because of the oil already in the tortilla. They should unstick themselves after a few seconds, making it extremely easy to utilise any flipping skills you may possess. 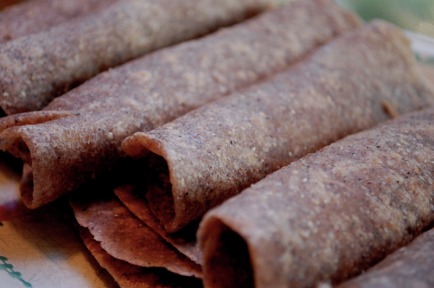 These were definitely the best tortillas I have made to date, but they still have kinks I'll be spending the rest of my life working out. The blue corn definitely helped the overall texture and the olive oil added some flavour.
If you're going to try and make these yourself, just know that they will not be anything like store bought tortillas. They are chewier, dense and in no way the uniform circles that machines produce. But they are a fun project and a versatile food. Not to mention the fact that from tortillas you get tortilla chips...and it is guacamole season. -Bizzle 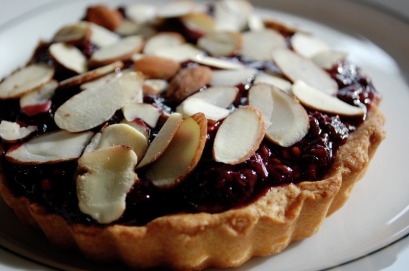 Blackberry-Almond Tart: Sweet pastry shell filled with pastry cream, reduced blackberries with a little orange extract and slivered almonds. DIVINE. 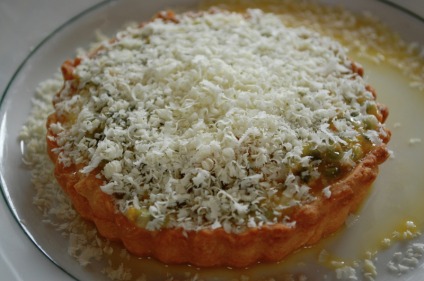 Passion fruit tart. The picture just doesn't do justice to the perfection that was this tart. Sweet pastry shell filled with pastry cream, topped with fresh passion fruit and 'garnished' with grated white chocolate. It was absolutely the best balance of sweet and tart any wannabe experimental baker could ask for.
Inspiration: what is it? For me it is an ingredient I have had bumming around my pantry for a while. This week's inspired ingredient was dried fig. 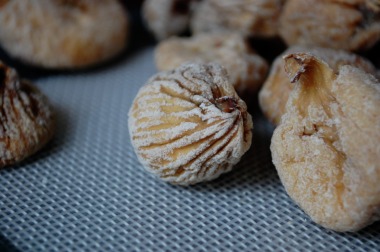 This recipe just came to me while I was pondering how to use these whole, beautiful figs in a baked good. I wanted to use other flavours that would pair well with the figs, were reminiscent of the Mediterranean and were already on my shelf. 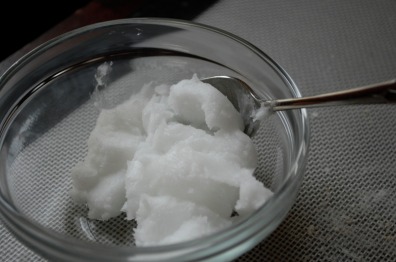 I made a simple pie crust, sweetened slightly, to wrap the figs in. Then I took some coconut butter, mixed it with brown sugar, lime juice and ground ginger, and spread it out on little rounds of dough. I topped the filling off with a single fig and wrapped them up. 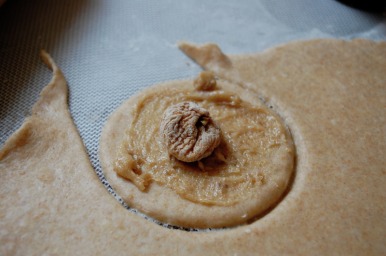 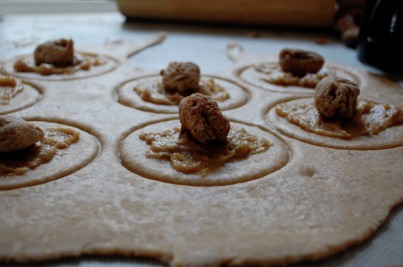 I don't know if it was the dough itself or the size of my pockets, but the majority of them fell apart as soon as they hit the heat. The ratio in the filling between coconut butter and sugar was too low as well; I had oil dripping out of these and filling the pan. 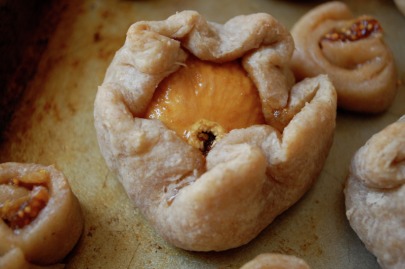 The above was one of the successful ones. When I placed them on the sheet I had pictured them staying fully pinched shut, hiding the fig completely, but I quite liked the way the pastry just gently fell away, revealing the fig underneath. 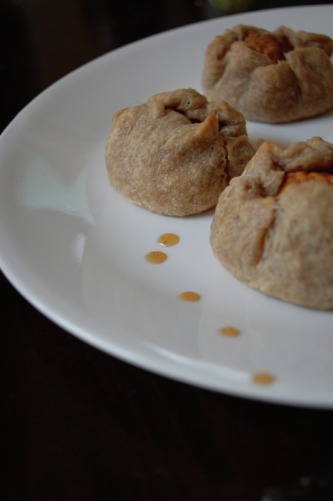 These tasted much better the day after I made them. The filling lost some of the oiliness and the sugar became slightly chewy. I would really like to work with this recipe some more, especially perfecting the pie dough. There is at least one flavour element missing and I would like to find a way to add a little more color, even if it is as an embellishment.
-Bizzle Another day, another scone recipe. This is the second time I have tried out this combination in scone form, and I hardly doubt it will be the last. The inspiration behind this scone lies in some random snack food The Weng and I picked up in Oxford one day. Ever since then this idea has been floating around my head as an interesting and different flavour combination. 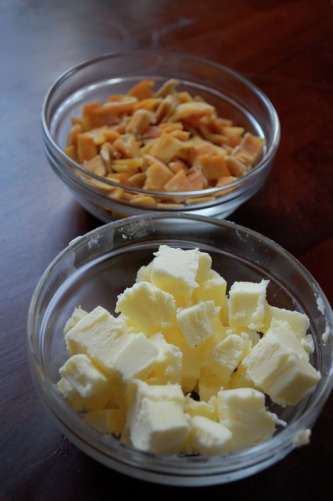 Like I noted in my last post, it is easier to make true scone texture when you cube the butter beforehand. Here are my prepped butter cubes and mango pieces, sitting pretty in my new mise en place bowls. 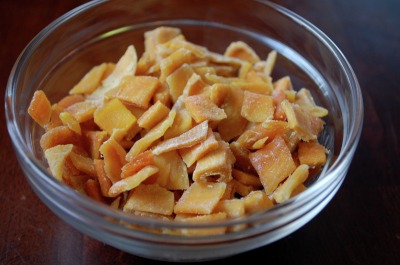 I used dried sliced mango from Trader Joe's. I just snipped them up with my herb shears while I ate breakfast and voila! Prepped main ingredient. I haven't ever tried cooking with fresh mango, but I just don't think it would work as well. Too much liquid, perhaps too much acidity- if you want to try it however, let me know how it goes. 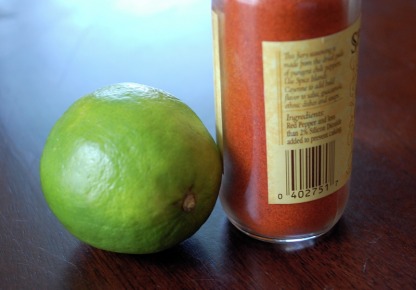 The other two star ingredients of this recipe: lime and cayenne. I don't know all the ins and outs of the 'chili' debate, but I use cayenne because it has a distinct heat without adding too much pungency. 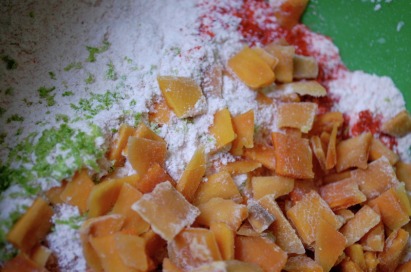 I love colour! Anyways, I used a little bit less sugar than normal, mostly because the dried mango is cured with sugar and I wanted the other flavors to have a solid place in the overall taste. I think I could have used more zest (I used 1 lime's worth) or perhaps a drop or two of lime oil. 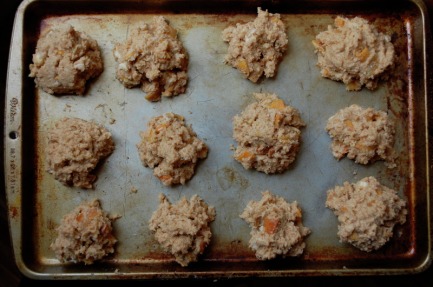 I used the drop-method this time because...well, because I felt like it. I just like the way haphazard food looks and feels in my hand. Plus, this is fun in a sneak- broken-bits-off sort of way. 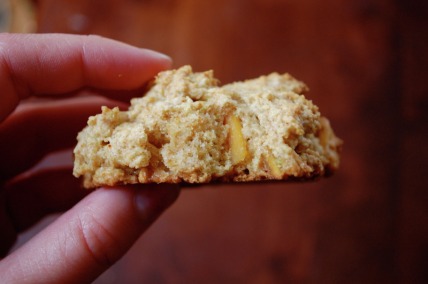 Yum. Understated with a lingering bloom of cayenne. Eating them right out of the oven really highlights the cayenne, so if you're weary of the combo, make them anyway and just wait until they're cool to nosh.
-Bizzle I love scones. I love eating scones and I love making scones. So it's about time they made their appearance on this blog.  The main ingredient in these scones is that alien creature pictured above. It's a dried hibiscus flower my friend and I picked up on a whim at Trader Joe's. Now, they may look totally foreign, but they taste quite normal. Rather like a less tart version of a dried cranberry. 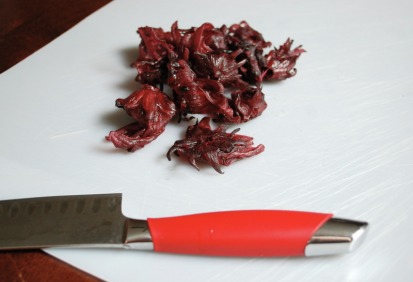 Kitchen shears are a culinary tool I currently covet, especially when it comes to things like dried hibiscus. The knife eventually did the job but it took way more time than it should have. 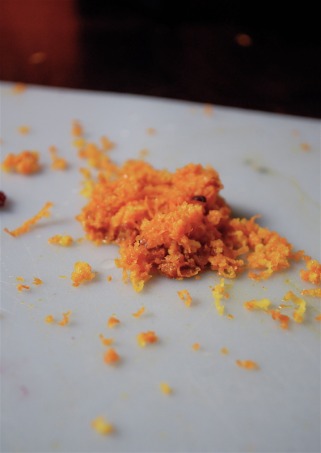 The second main ingredient in these scones is an ample amount of orange zest. I was hoping to use the candied orange peels from a couple of posts ago, but nature worked a little dark magic on those and they were no longer fit for consumption. Hence, the punch of citrus had to be brought in by something else. 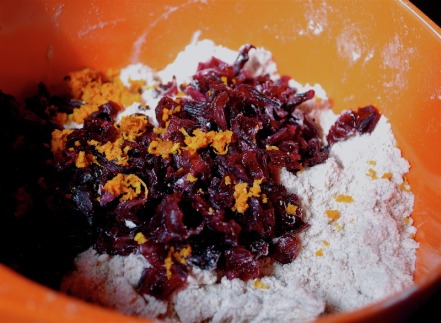 Another tool I wish I had was a pastry cutter. Normally I use my hands to cut the butter into the flour; one time this resulted in butter melted more than I desired and little cakes rather than little scones. This time I used hands and a pair of forks and I think it worked alright. The scones came out with the right texture at least. 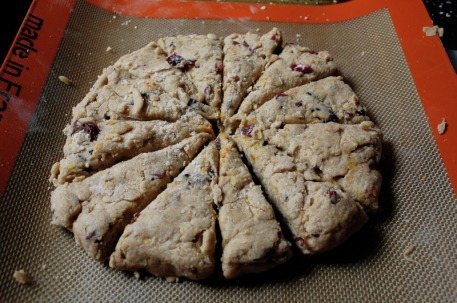 The majority of the time I make scones I tend to use the drop method, resulting in lumpy, irregular and crumbly scones. This time I chose to go with the wedge style, mostly because I thought it would fit on my Silpat better. 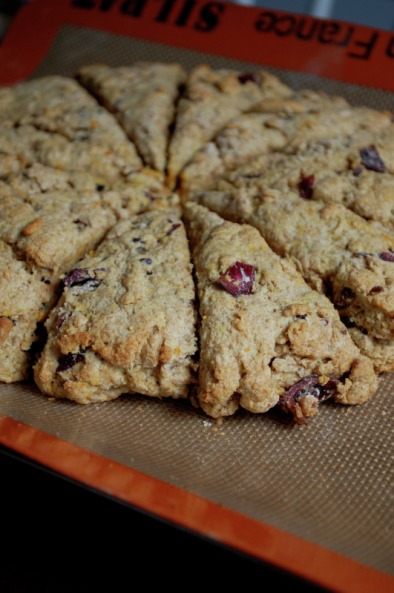 The hibiscus didn't add much flavour to the scones but the little bit of chewy texture adds a lot to the overall feel of the scones. The downside of the hibiscus is that they are pretty expensive. I recommend that if you're going to spring for them at all, find a recipe that capitalizes on their shape when whole. Otherwise, use some other dried fruit. 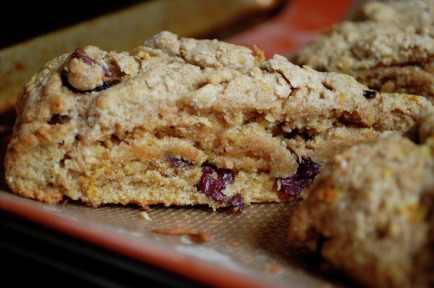 The best way to eat scones, and the world standard, I believe, is with tea. Add some milk and sugar to that tea and you will have an authentically British afternoon.
-Bizzle 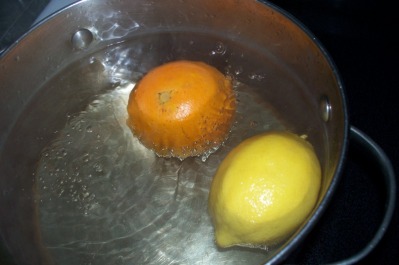 Yes, you really do. And it makes your house smell wonderful. This is one of the strangest cakes I've ever made, but also one of the most delicious. I got the recipe from Orangette, and as it's the most recent thing she's posted, I feel rather presumptuous posting about it myself, but I figured that since I'd made a few changes to the recipe, I could allow myself to do it.  The fun thing about this cake, besides boiling an orange and a lemon for half an hour and filling your house with the most amazing smell, is that it's lactose-free. Olive oil is the fat, and you have to beat the eggs a LOT. I didn't beat them enough, and, while the cake still tasted amazing, it had a dip in the middle. Aim for a very pale yellow and you should be good. I also didn't have almonds on hand, but a ton of pecan meal, which I used instead. The color was darker, of course, but just as tasty. And it got me thinking about other substitutions one could make in this recipe--bergamot and macademia nuts, anyone?  Or some of these and roasted pine nuts... Anyway, here's a link to the recipe over at Orangette: http://orangette.blogspot.com/2010/02/we-ate-this-cake.html#comments, which, if you make like her will look lighter, and if you make like me, will look like this: 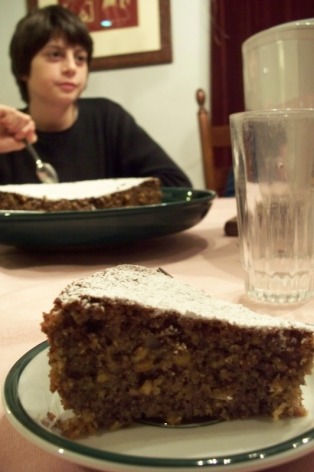 My brother was pleased with the cake. So was everyone else.
~The Weng ...If you have one, of course. If not, you could just sit down and eat this pan of brownies all by yourself, and not feel one bit guilty. 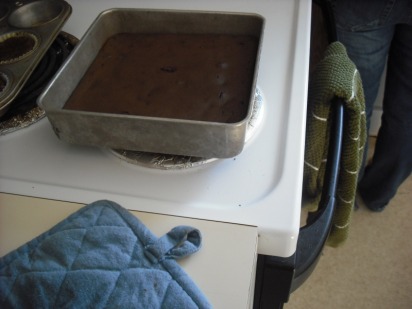 Well, maybe a little. But the fact remains that these are some of the healthiest brownies I've ever made. And some of the easiest. It's one of those stick-everything-in-the-food-processor-and-push-the-fun-button recipes. I, food-processor-less, made do quite well with a blender. The recipe comes from a friend back home in Michigan, who made them with dried cherries. I put chocolate chips in mine, and the next time I make them, I'm going to make a mint icing for the top. Feel free to accessorize your brownies as you wish. 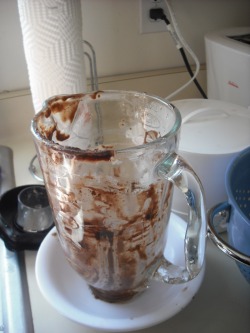 Here is the trick, though. These brownies have a (15-oz.) can of black beans in them. No flour + beans apparently equals delicious. I was skeptical at first, dear reader, but believe me when I say I am no longer. Here's the recipe, from the Whole Foods website. Flourless Brownies makes 16 Ingredients 1 (15-once) can unsalted black beans, thoroughly rinsed and drained 3 eggs 1/3 c. melted butter 1/4 c. cocoa powder pinch salt 2 tsp vanilla extract (for a truly gluten-free dessert, make sure the extract is gluten-free as well) 1/2 c. plus 2 Tb sugar 1/2 c. chocolate chips 1/3 cup chopped walnuts Procedure Preheat the oven to 350 F. Butter an 8-inch baking pan. Put everything in the blender except the nuts and chips, and blend until smooth (make sure the bean skins are broken up really well). Stir in the nuts, chips, cherries, what-have-you. Put in the pan, and bake for 30-35 minutes, or until just set in the center. Et voila! A delicious and nutritious treat. Your high-school health teacher would be so proud. 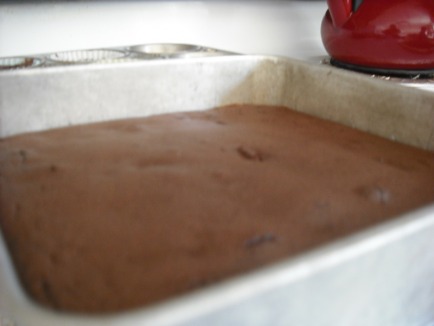 ~The Weng
| AuthorsBizzle is a college student with a worthless major and a few major addictions: coffee, books, movies and food. ArchivesMay 2010 CategoriesAll |
 RSS Feed