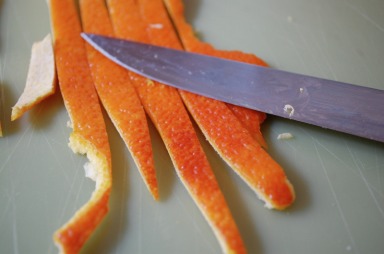
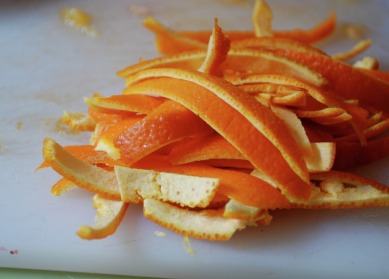
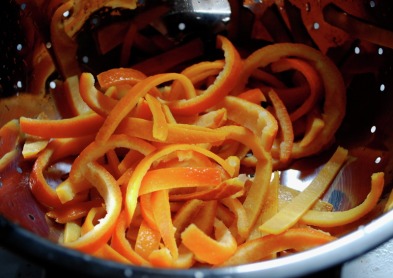
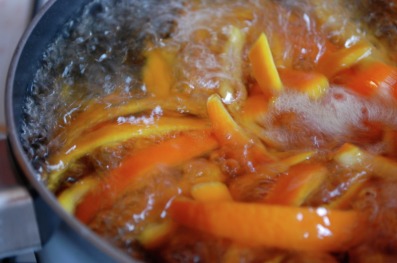
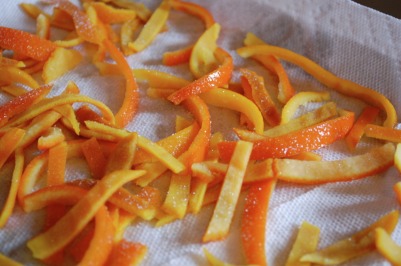
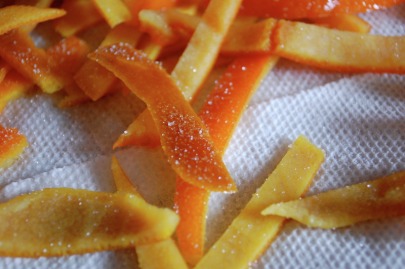
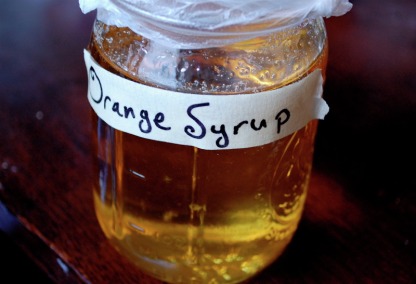
Today's post is extremely monochromatic. If any of you have a phobia of the color orange, I'd stop now and go catch up on the latest episode of whatever TV show happens to be your guilty pleasure (I have about 7 myself). I knew my last post's creation would create a plethora of 'worthless' orange peels as well as yielding their fruit, so my mind started thinking of ways that would result in less waste. Or, less compost for my friends' cute little worms. In the end I decided to go with candied orange peel since I couldn't think of anything else and really, what else is there to do with orange peel? I started by filleting most of the excess pith off the peel and then thinly slicing them. I then boiled them twice, rinsing in cold water after each boil, as per Giada's instructions. After the second quick boil and rinse I again put them into boiling water, this time with added sugar. I don't think I compensated for the extra water I put in to cover the peels and ended up with not enough sugar. My peels didn't really ever dry, even after a couple of stints in an hot air blasted oven. Right after I pulled them out of the sugar water mixture, about 15 minutes, I sprinkled with a little more sugar and waited. Meanwhile, I kept the sugar water on the stove and reduced it. I simmered it down to a little more than a 1/4 of its original volume. The final product is slightly bitter thanks to the peels but retained the nice orange flavour. It has a nice caramel flavour to it as well, a perfect accompanying dark note. I'm excited to try it out the next time I feel moved to make pancakes. But don't let its name restrict you! It would also be good over ice cream, as a flavoring for coffee (Orange Mocha Frappuccino's anyone?), or even spooned over cereal in place of honey.
-Bizzle
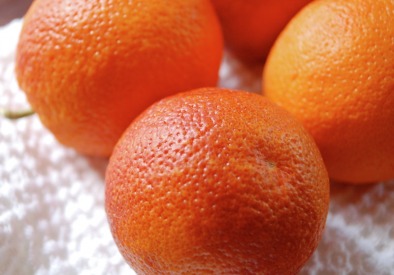
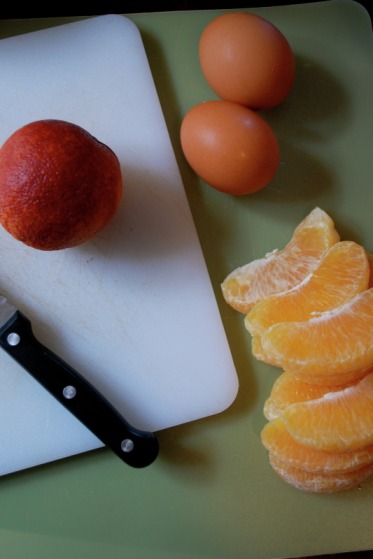
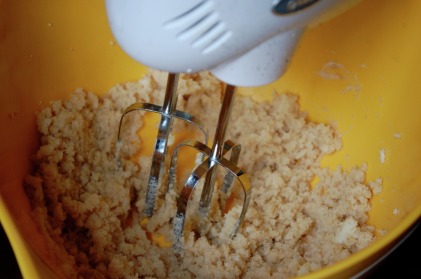
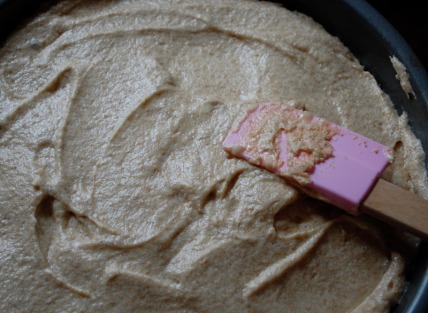
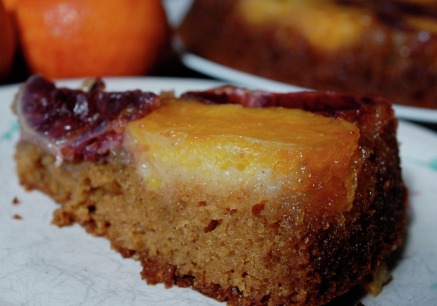
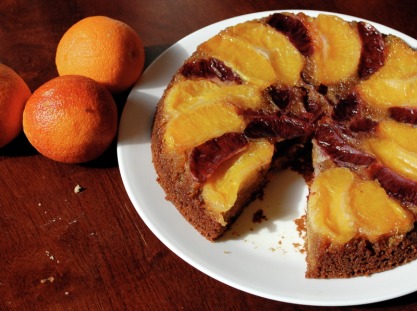
Nearly a week ago I bought a bag of blood oranges at the local market. I had never really had one before but I remembered seeing them all over the blogosphere. So I jumped on the opportunity. Then I searched for all those recipes that were vaguely prompting me to cook and discovered that most of the ones I had seen were for things like sorbet. Hm. Here in New England we are still in the throes of winter. (Also I do not own any sort of ice cream machinery.) So then I went and raided the plethora of recipes that is Martha Stewart's website and discovered a recipe for Grapefruit Upside-Down Cake. Perfect! I modified the recipe a bit, by which I mean I didn't actually follow the recipe but just the steps. Instead of using grapefruit I used blood oranges, normal oranges and Minneolas. The Minneolas were my favourite to peel because of the little hollow between the peel and the fruit. Also, I am telling you all right now that I often take the lazy way out. Instead of doing the "professional chef" thing and slicing the peel off then sectioning the oranges with my knife so that there was no connective tissue, I just put down the actual sections. Yeah, it makes the cake harder to cut, but frankly, it was way easier. If you have and want to take the time to do that, go right ahead. I even broke out the electric hand mixer one of roommate's mothers bought for us when she saw me making whipped cream by hand. Cakes are fussy, which is why there are so many muffin recipes on this blog and not cakes. When I pulled the cake out of the oven the whole middle had sunk and the cake itself was rather more brown than I was expecting. I think I used too much brown sugar in proportion to white. I also used some whole wheat flour in the batter, so although I wasn't expecting a nice yellow, I was surprised when it came out looking the way it did. But despite its major pitfall and unusual color, this cake was amazing. Although I'm beginning to think anything that contains butter and sugar is probably going to taste pleasant. There was a little too much butter and sugar involved in the recipe than I normally allow for, but because I'm not used to cakes and especially wanted this one to be a success, I went for it. And let me tell you, all of my roommates (and I) are glad I did.
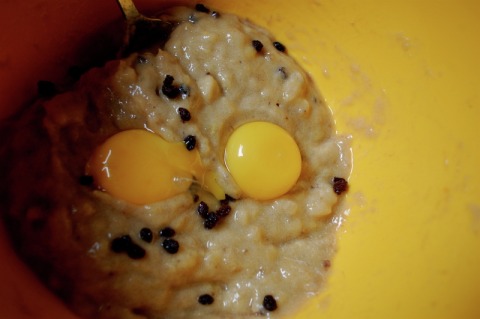
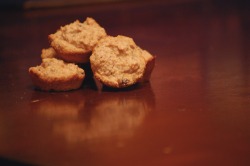
This is going to be a short post because most people would not like to wax eloquent on their failures. I don't either necessarily, but I didn't want this picture to go to waste. I also didn't want all my hard work to have been in vain either. Although 'hard work' in this case is open to interpretations. Anyway, on to the food. I was attempting to create dairy-free muffins for the sake of sharing to a class of eager playwrights, one of whom is allergic to milk. I admit I was a little frazzled whilst in the process of combining things and made a few mistakes. One of which was introducing lemon zest into the wet ingredients before the eggs. The other of which was assuming coconut butter would 'mash' in the same manner as real butter. One of these mistakes is the culprit for what is seen here: That's right. Prematurely denatured egg pieces. Or, in rather more laymen's terms, my eggs curdled. At first I thought it was the lemon zest, but the more I think about it, the more unlikely that seems. But now I believe it was the small amount of coconut butter I had to melt in a timely fashion, aka microwave. Pouring hot oil into a mixture with eggs that hadn't been fully incorporated was an oversight on my part. But, in my defense, I've never baked with coconut butter before and I was nervous (there is a cute boy in the class I was baking these for). Now because I said 'short' post I will leave you with just a few final thoughts. The muffins, despite their weird blotches of obvious egg, weren't too bad. Taste wise they were fine although they did leave the slightest oil aftertaste (afterfeeling?). I didn't take them to class because they didn't live up to my imaginary impress-upon standards but my roommates are enjoying them as we speak.
There is a chance I will try again soon which will of course mean another post about them. In the meantime, non-existent readers (hello? are you out there?), I seek advice on baking with rock hard coconut butter.
-Bizzle
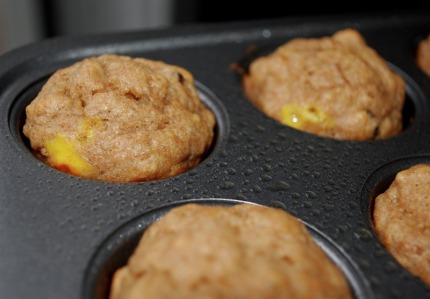
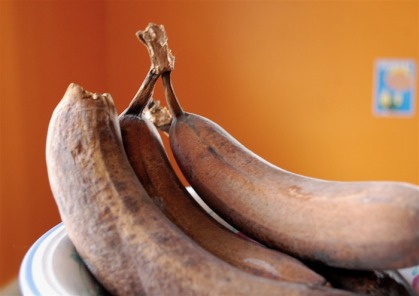
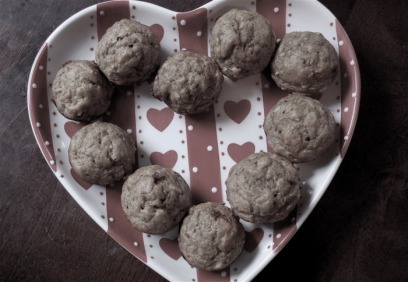
Here at The Brooding Life... I have no hubby, no boyfriend, and no date with which to celebrate Valentine's Day. I just have a couple of roommates and a lot of time on my hands. Which is why I decided to do a little baking and make Banana-Coconut Muffins to munch on while we watch RomComs and the Olympics. Now, I don't like my bananas ripe. I buy a bunch of green bananas, thinking that I will be able to eat them all in the very small time frame between just coming out of being green and before they start to brown. I always fail. Which is why our freezer is now home to an extensive collection of these brown beauties.
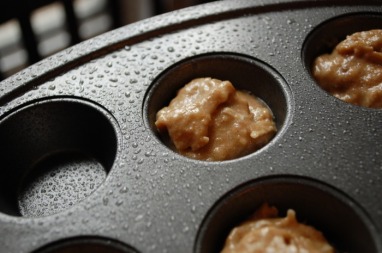
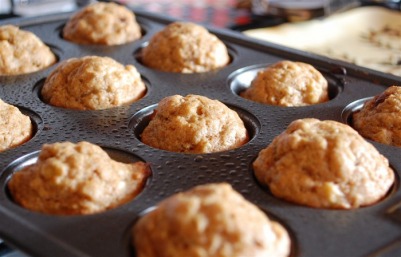
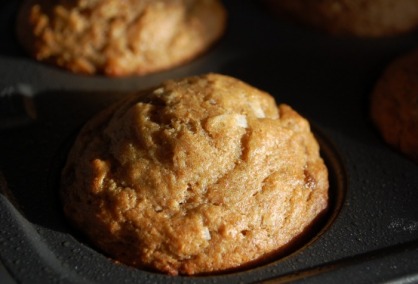
One of my favourite things to eat made with these old bananas are my Mom's Banana Chocolate-Chip Muffins. She makes them for me whenever I come home from college and they are usually devoured within a few days. But today I didn't have any chocolate-chips. But Lord, did I have bananas. I also had some coconut lying around. And thus a recipe was born. I threw together the mushed bananas, some coconut and the various quick-bread essentials. Although this time I included a new trick. I like dense food. But I also like light, fluffy food. Especially airy muffins. Which is why today I whipped the whites of my two eggs and then folded them in last, right before I tinned my mixture. I had an inkling this would help my muffins puff, and it did. I didn't put a lot of sugar in this recipe because I am sick of overly sweet muffins. I also believe that Americans need to learn to cut back on their sugar intake, especially the processed stuff. Also, it totally justifies eating one with butter and honey on top, since there isn't a ridiculous amount already baked in. So, Happy Valentine's Day everyone. Do something non-commercial for your love (or loves, or likes, or anyone you might appreciate) this year and bake for them. Remember, it doesn't have to be a complicated recipe or even a recipe at all. It can be a veritable hodgepodge of on-hand ingredients, as long as it's made with good intent.
-Bizzle
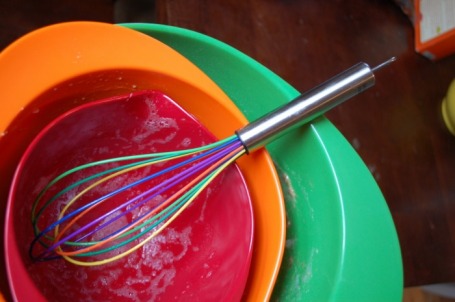
This post is dedicated to my Mommy, whom I love very much. And who 'bought' me a nice, brand new, exciting set of mixing bowls from Williams-Sonoma for Valentine's Day. Thanks Mom, I love you.
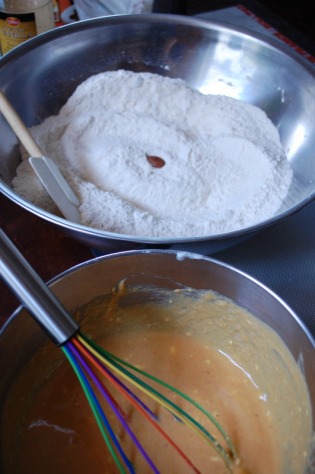
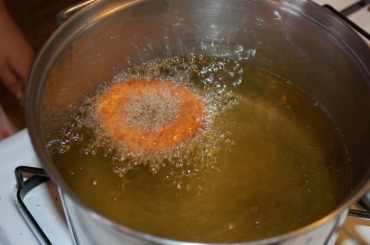
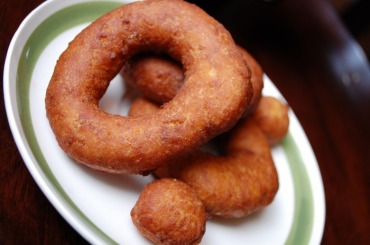
Well, readers, I have good news and I have great news. The good news is that my new camera lens finally came!! The great news is that this means lots more blog posts!! In order to celebrate my friend Kohleun and I decided to make Pumpkin-Almond doughtnuts based loosely off of a recipe found over at Canelle et Vanille. I am not going to post the recipe we made up because, well, because we made it up. I recommend you pop over to the professional's site linked above and do it her way. (Or your own.) We began by roasting almonds then grinding them in a newly-cleaned coffee grinder. We added them to the dry ingredients and let me tell you, the aroma was fantastic.
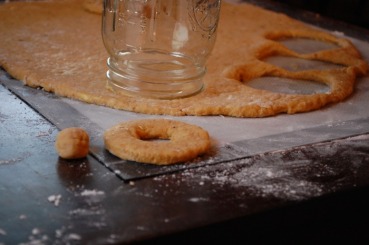
After mixing and stirring and folding we rolled out the dough and began the actual doughnut part. Now because I'm still a poor college student I don't own any of the fancy molds and cut-outs that produce proper doughnuts. We used an up-ended mason jar and a spoon to create that stereotypical shape. Then the real fun began. Now, I love fried food. The crispy skin on fried chicken is just about my favourite way of putting on the pounds. But frankly my dears, I don't like frying things myself. Since I also do not own a thermometer, frying is dangerous guessing game similar to Russian Roulette.
After a few super dark doughnuts and a few gooey centers, we managed to produce a batch of decent home-made doughnuts. All the roommates agree on their deliciousness, especially after they were dusted with powdered sugar. Although these are a sinful mouthful and not too complicated to make, I won't be doing it again any time soon. Enjoy with a cup of coffee and the cable box. :-)
-Bizzle
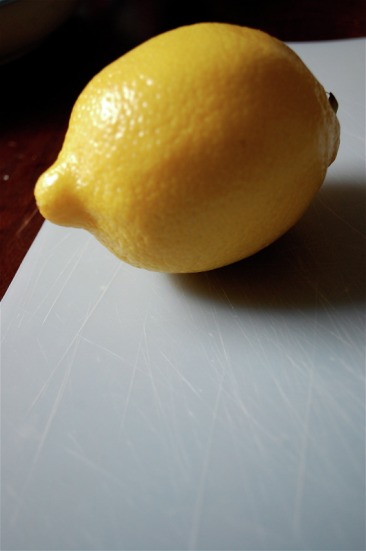
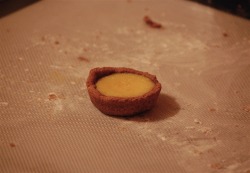
Something you will learn about me quickly, dear readers, is my utter inability to follow a recipe. No, I do not have a disability or even a compunction against them. Truly, I just prefer to create and diverge. (It's why I have a major in British Studies and not just English.) The two following morsels are products of this hypothetical approach to cooking. Basically, (one of) my mottos in the kitchen is, Let's Try It. To begin with is what I am going to call, uncreatively because it is not perfected, which is when it will acquire a 'real' name, Whole Orange Tart with a Chocolate Crust. I remembered coming across a post over at Smitten Kitchen for a Whole Lemon Tart. Only thing was, I had oranges at hand and not lemons. So I decided, why not? and gave it a go with oranges. I adopted a basic pie crust dough to include vanilla and cocoa. To be honest, I am not a huge fan of pie and an even bigger skeptic of pie crust. I just don't like eating it. But I still make it because it is easy and seems right. Anyway, the filling was a whole blended orange and some sugar, a stick of butter, an egg and an egg yolk. And an indeterminate amount of 'dry ingredients.' Although this blog has no readers yet, if any future readers see this and demand a more explicit definition of these ingredients, leave a comment and I'll see if I remember. I didn't have a suitable pan for this tart, so I ended up using a muffin tin and making tartlettes. The first batch, which I did not overfill, cooked quite beautifully at 325 for another indeterminate amount of time. (Sorry people, precision is not my forte.) The second batch was slightly different in baking powder content and bubbled to an unsightly texture. Upon tasting though, they are quite good. Definitely a bit too sweet, which makes me glad my psychic foresight, aka fate, had me make them into tiny little bundles of goodness. One is definitely enough. The second delicious result of the evening is, for the time being, Orange Muffins with Currants and Poppy-seeds. Basically I had leftover filling from the tarts above. So I plopped in some European style yogurt, whole wheat flour, currants and poppyseeds, essentially making what I was hoping would more or less be a bread. I should have added a little more baking powder/soda because they turned out quite dense and did not rise like I wanted them to. However, they are yummy and tasty and overall an experimental success. To close I would just like to say that these pics are slightly doctored. My regular camera lens is broken at the moment, so I was using my extremely inconvenient telephoto lens. Let's just say that trying to get a close up of an already small object without having to stand more than 5 feet away with a telephoto lens is difficult for an amateur like me.
Let's get this blog underway. Although eventually (a.k.a. when I buy a new lens for my camera) I hope to be posting original recipes and deliciously digital pictures of my food creations, I am going to start with something entirely unoriginal.
I live in the North East and despite this year's unseasonably warm days, the sun still sets early and my house still gets cold. My little work space is in an uncarpeted room with three gorgeous bay windows which let in a hellish amount of cold air. Needless to say, I often find myself craving a hot beverage. And, although I looove coffee, sometimes I don't want to take the time to grind my beans or walk to the nearest local shop. And, although I looove tea, sometimes I want a drink with a little more heft to it. That's when I turn to my new favourite find, Trader Joe's Spicy Chai Latte.
This delicious blend of (pause to read ingredient list) sugar, creamer, tea and spices is now a fall and winter must-have in my house. One of my housemates steals mugfuls (it's a word, look it up) yet I refuse to hide it. I will admit, it does have a tendency to leave a slight residue at the bottom of my treasured drinking vessels, but I am telling you, it is worth the risk.
*This post was in no way sponsored by Trader Joe's
|

 RSS Feed